cmicon

ClipMagic - Windows Clipboard Extender

Speed up Cut, Copy & Paste

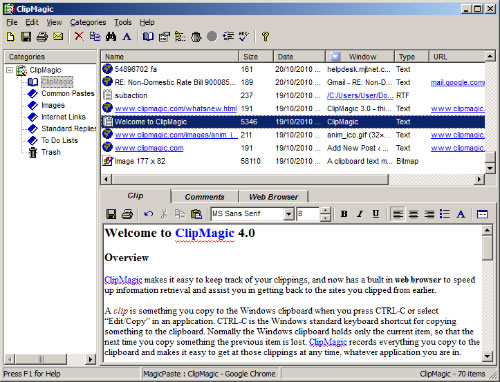
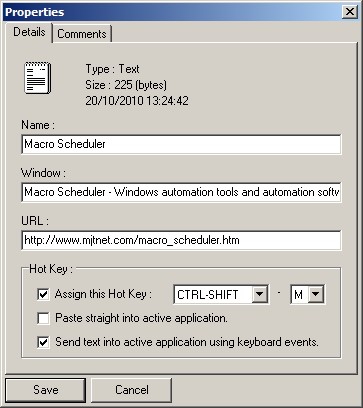
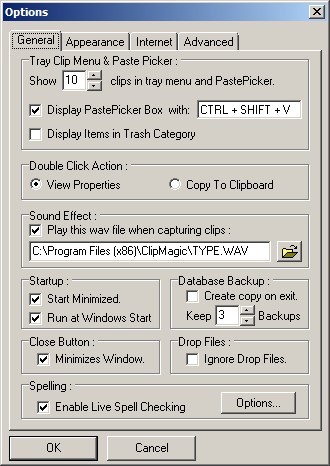
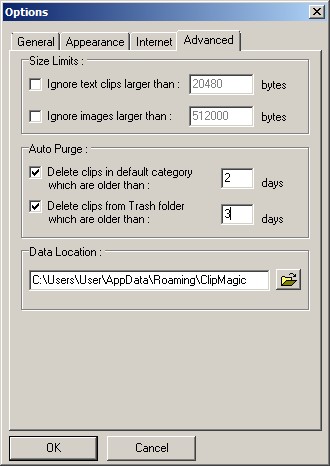
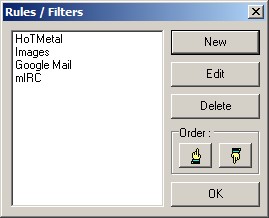
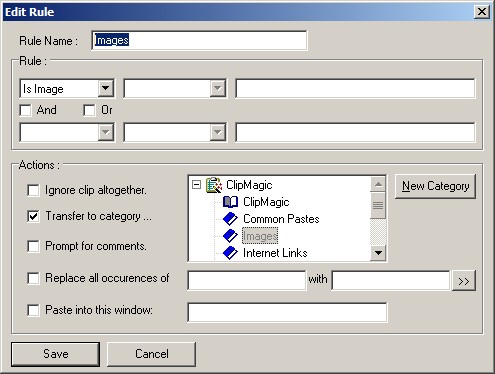
ClipMagic Screenshots

On this page are a selection of screen images to show what our clipboard software looks like together with a brief description of what the screens do. Click on these links to jump down the page to the image you want to see. Click on the up arrows in any section to return to the top of this page.


Top Main Screen

This is the main screen which shows the category Folders and the clips within the selected folder. The Name, Size, date, Window, Type and if approprite, the URL are detailed for each saved clip. The Contents of the selected clip are shown in the window below and notes can be added by s electing the comments tab. The last tab displays the internal web browser


The main screen of our clipboard software

Top Properties

This Screen is displayed by double-clicking on an item. The Name and window are automatically detailed when the clip is stored as well as the URL if it is an internet link. Hot Keys can be added to paste this clip into the application you are working on and notes can be added from the comments tab in the same way as the main screen.

The ClipMagic properties screen
General options in ClipMagic

Top General Options

This image shows the main program options that can be changed. For example the Fonts used, the double click action and a wav sound can be played every time a clip is stored. You can also select how many items will be shown by selecting the option on the task tray icon for instant access.

Top Advanced Options

This screen allows you to set options to control the size of the database. This includes options to ignore clips over a certain size and automatically delete clips in the default and trash folders after a certain time period. The location of the database files can also be changed.

Advanced options in ClipMagic
Rules and filters in ClipMagic

Top Rules / Filters

This screen is accessed from the menu or buttons on the main screen and lists the rules which have been set up to move or ignore clips. Rules can be edited or deleted and the order that they work in may be changed from this window.

Top Edit Rules

This screen is used to set up the rules to move clips into the different folders. It is easy to use and can be done in a few seconds using the drop down option boxes. As well as moving a clip a rule can be set up to ignore clips from particular applications or of certain types. They will still be copied into the windows clipboard in the usual way but not stored in ClipMagic.

ClipMagic Edit Rule Screen